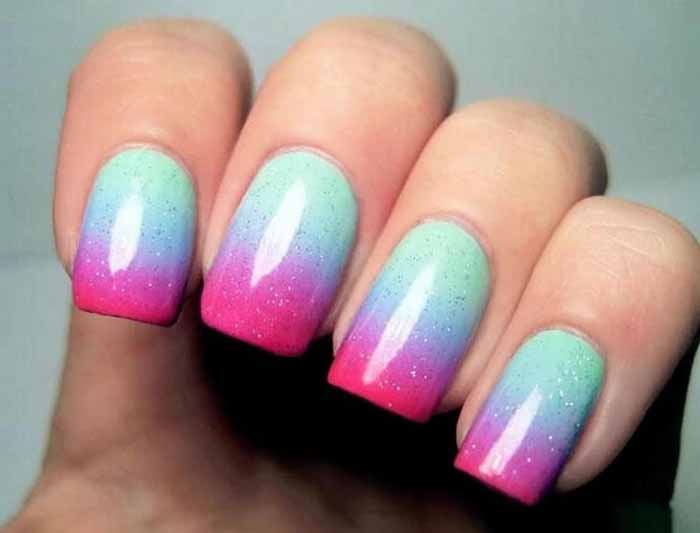
I still remember the first time I saw a double gradient manicure. It was on a nail artist’s Instagram feed, and I literally stopped scrolling. Two colors didn’t just blend into each other—they flowed into a third shade, creating a depth and dimension that looked almost three-dimensional.
That was the moment I realized: gradients are not just about blending colors. They are about creating movement, light, and texture on a tiny canvas.
Why Gradient Nails Are So Captivating
Gradient nails—also called ombré nails—have a special kind of magic. Unlike a single, flat color, a gradient creates the illusion of depth and motion. The eye is drawn across the nail as the color shifts, making your nails look longer, more dynamic, and more interesting.
The beauty of gradients is their versatility. A soft pink-to-white fade is delicate and romantic. A bold blue-to-purple gradient feels edgy and modern. A warm orange-to-yellow fade captures the energy of summer. The same technique can produce wildly different results depending on your color choices.
Gradients are also forgiving. Unlike a crisp French tip where every imperfection shows, a gradient naturally hides minor unevenness. The blend itself is the design, so slight variations in the transition look intentional rather than flawed.
What Is the Double Gradient Technique?
A single gradient blends two colors across the nail—from cuticle to tip, or from one side to the other. A double gradient takes it further by incorporating three colors, creating a smooth transition from one hue to a second, and then to a third.
The result is a more complex, layered look that mimics the soft shifting of a sunset or the iridescent shimmer of a seashell. Double gradients offer more depth and nuance than a single transition, making them a favourite for special occasions and artistic nail designs.
Essential Tools and Materials
Achieving a flawless double gradient at home requires a few specific tools.
Makeup sponges. The key tool for gradient application. A dense, fine-pored sponge creates the smoothest blend. Wedge-shaped sponges are ideal because they conform to the curve of your nail. Foam applicators or silicone stampers can also be used for a cleaner, less messy application.
Gradient palette or silicone mat. For mixing and applying polish to the sponge. A silicone mat is reusable and easy to clean. Alternatively, a piece of plastic wrap or a spare tile works perfectly.
Base coat and top coat. Base coat protects your natural nails and provides a smooth foundation. Top coat seals and smooths the gradient, eliminating the sponge texture.
Three complementary nail polish colours. For a double gradient, you need three shades that flow naturally into one another. For example: light pink, medium pink, and deep rose. Or pale yellow, soft orange, and coral. Or pastel blue, lavender, and soft pink.
Nail polish remover and cleanup brush. For cleaning edges and cuticles.
Sticky tape or liquid latex. To protect the skin around your nails. This is strongly recommended—gradient application is messy.
How to Create a Double Gradient at Home
Follow these steps for a flawless result.
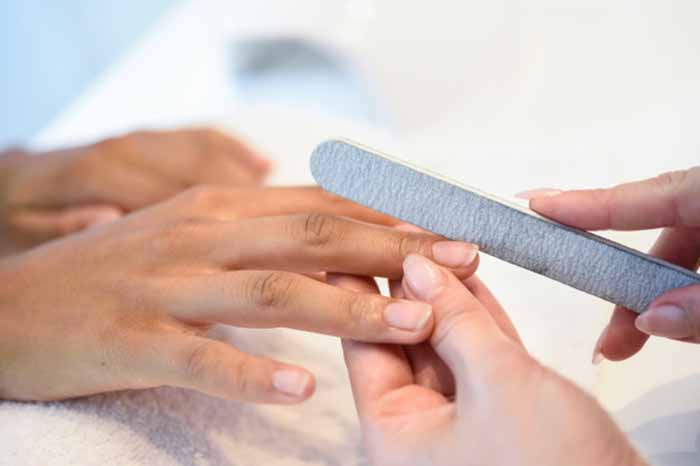
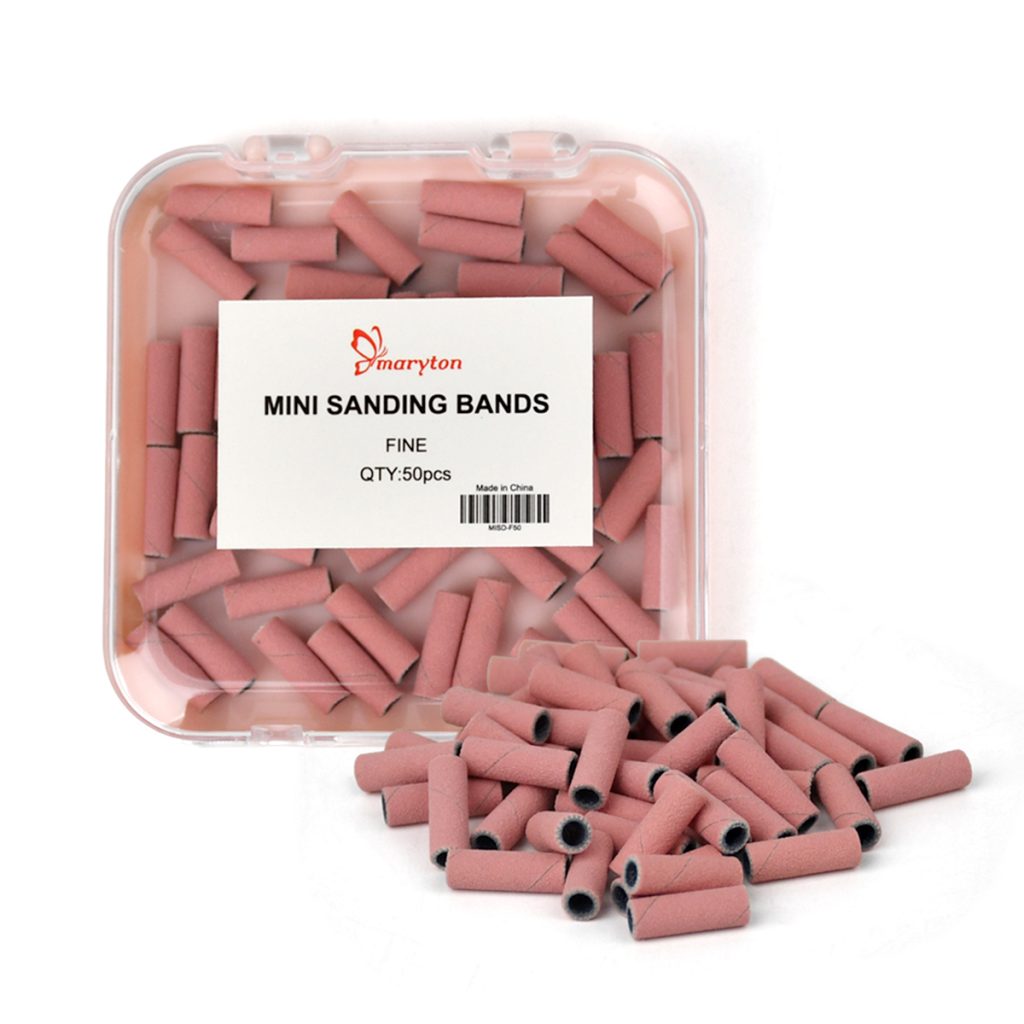
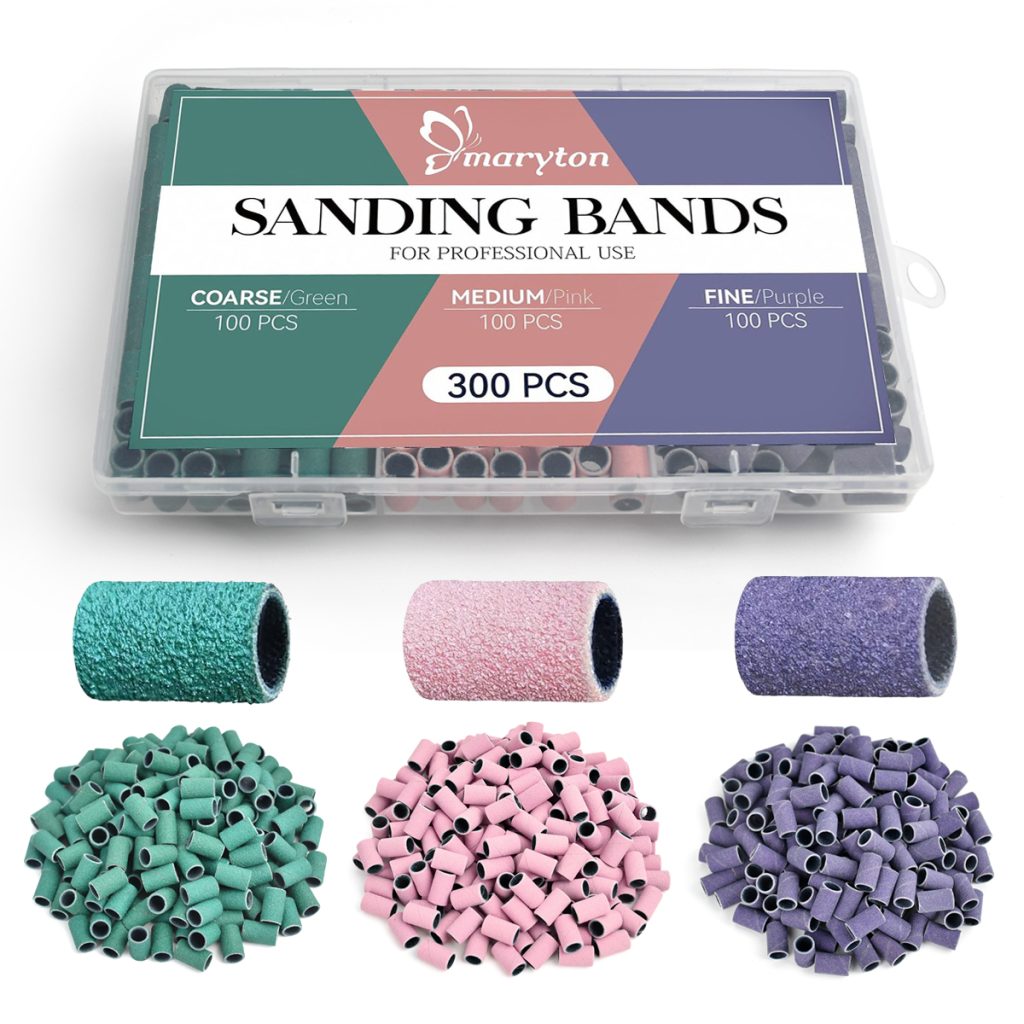
Step 1: Prep your nails thoroughly. Start with clean, dry nails. Shape them to your desired length and shape. Gently push back cuticles and lightly buff the surface with Mini sadning bands. Wipe each nail with rubbing alcohol to remove oils and residue.
Step 2: Apply a base colour. For the most vibrant gradients, apply a thin coat of the lightest colour in your gradient as a base. This creates a smooth, even foundation and helps the gradient blend more seamlessly. Let it dry completely.
Step 3: Apply liquid latex or tape around your nails. This protects your skin from the inevitable sponge mess. Apply a thin layer of liquid latex around each nail, or place sticky tape on the skin adjacent to your nails. Allow the latex to dry completely before moving to the next step.
Step 4: Paint your colours onto the sponge. On your palette, apply three stripes of polish—one for each colour—slightly overlapping them. The overlap is where the magic happens: as you sponge, the colours will blend where they meet. Use a generous amount of polish on the sponge to avoid a patchy, dry effect.
Step 5: Dab the sponge onto your nail. Using a light, bouncing motion, dab the sponge onto your nail. Start at the centre of the nail and work your way outward. The first dab will look patchy and uneven—that is expected. Allow the first layer to dry for 1-2 minutes, then reapply polish to the sponge and dab again. Repeat 2-3 times for full opacity. For a more seamless transition, you can also gently move the sponge side to side in small motions to blend the colours further.
Step 6: Clean up. Before the polish dries completely, peel off the liquid latex or tape. This removes most of the mess instantly. Use a small brush dipped in remover to clean any remaining polish from your skin and cuticles.
Step 7: Seal with top coat. Apply a generous layer of glossy top coat. This smooths the sponge texture and creates a glass-like finish. For the smoothest result, apply the top coat in one quick, fluid stroke without going over the same area multiple times. Some professionals apply two thin coats of top coat for extra smoothing.
Pro Tips for a Perfect Double Gradient
Choose colours that share an undertone. Warm-toned colours blend better with other warm-toned colours; cool-toned with cool-toned. A yellow, orange, and coral gradient will look cohesive. A yellow, blue, and pink gradient may look muddy.
Apply generous polish to the sponge. If your sponge is too dry, the gradient will be patchy. Saturate the sponge well and reapply between each nail.
Use a dense, fine-pored sponge. The finer the pores, the smoother the gradient. Makeup sponges intended for liquid foundation work best.
Don’t over-dab. Too much dabbing can push the polish around and create uneven texture. A light, quick motion is more effective.
Work one nail at a time. Do not paint the sponge, dab all five nails, then go back. The polish will dry on the sponge before you finish. Work individually to maintain the wetness of the polish.
Use a sticky base coat. A slightly tacky base coat helps the sponge adhere better and reduces patchiness.
The Bottom Line
A double gradient manicure is one of the most rewarding techniques in nail art. It looks complex and professional, yet it is surprisingly achievable at home with the right tools and a little patience. The key is preparation, generous polish on the sponge, and a good top coat to smooth the texture. With practice, you will create beautiful, multi-dimensional nails that catch the eye and start conversations.