Semi-permanent nail polish—also known as gel polish—is loved for its glossy finish and long wear. But removal is where many people cause damage. Peeling, scraping, or rushing the process can leave the natural nail thin, weak, and painful. The good news is that safe removal is not complicated. It simply requires the right tools, proper preparation, and patience.
This guide explains why preparation matters, how to remove gel polish correctly, what tools you need, the step-by-step process, and the most common mistakes to avoid.
Why Preparation Before Removal Matters?
Preparation is not just about gathering supplies. It is about protecting the natural nail and making the removal process easier.
Gel polish bonds firmly to the nail plate. If you try to remove it without breaking the seal of the top coat, the acetone cannot penetrate. You will end up soaking longer than necessary or scraping at the polish, both of which damage the nail.
Preparation also prevents infection. Cleaning the hands and tools reduces bacteria. Protecting the skin around the nails with a barrier cream or petroleum jelly prevents acetone from over-drying the cuticles.
Finally, preparation sets the right expectations. Removal takes time. If you rush, you will be tempted to force the gel off. Patience is the most important tool you have.
Tools You Need for Safe Removal
You do not need a salon full of equipment, but the right nail supplies make a significant difference.
- 100% pure acetone. Do not use non-acetone remover. It will not dissolve gel polish.
- Cotton balls or pads. Lint-free pads are best.
- Aluminium foil. Cut into small squares.
- A fine-grit nail file. 180 to 240 grit.
- A wooden cuticle pusher or orangewood stick. Wood is gentler than metal.
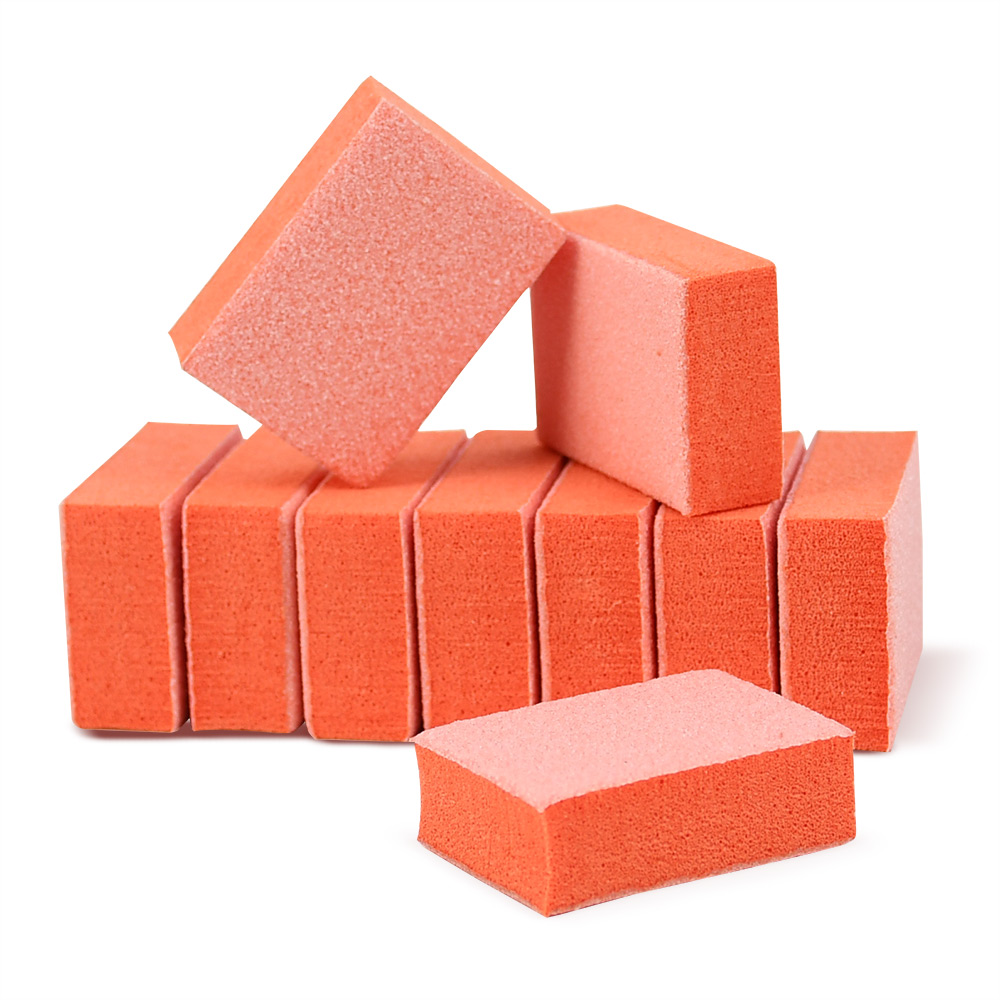
- A buffer block. For smoothing after removal.
- Cuticle oil and hand cream. For aftercare.
- Petroleum jelly or a barrier cream. To protect the skin around the nails.
- A small bowl of warm water. Optional, for warming the acetone. Never microwave acetone.
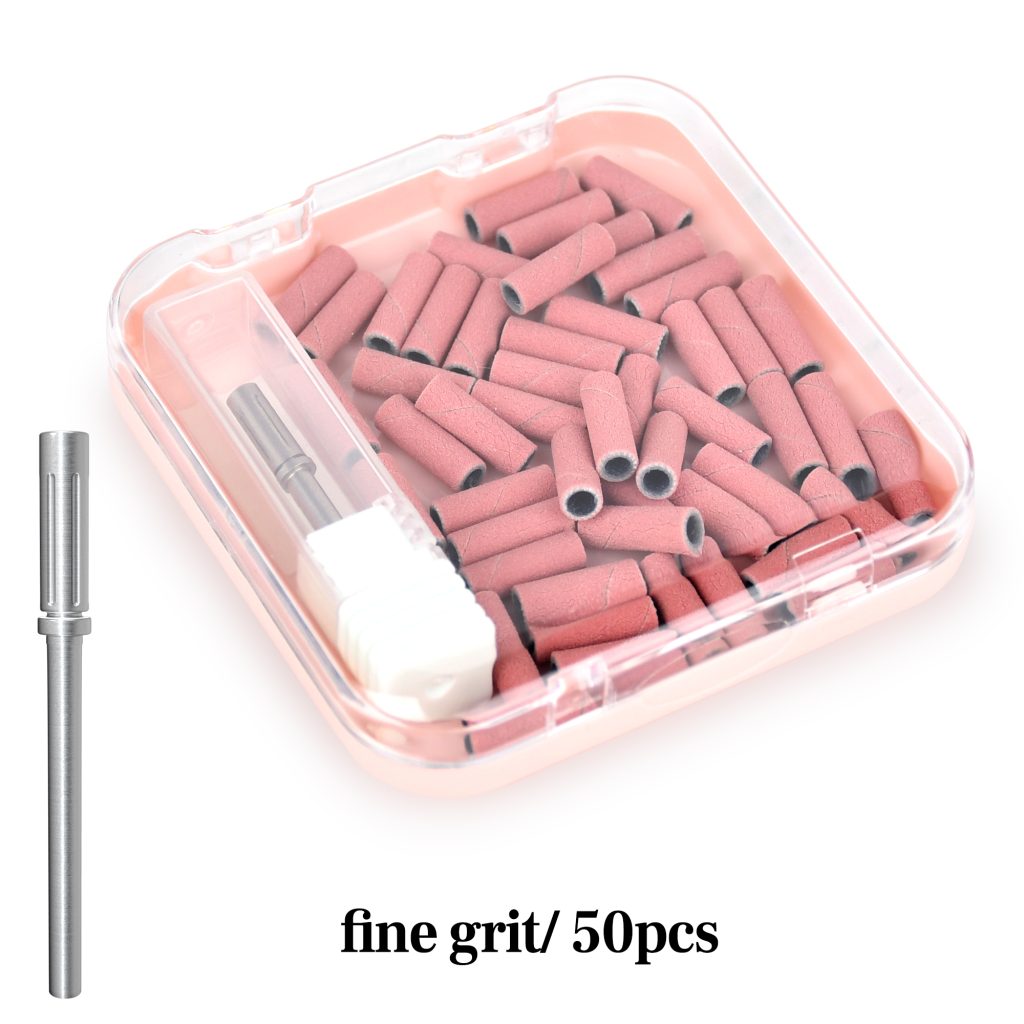
Avoid metal tools for pushing off the gel. Metal can gouge the nail plate. Avoid coarse files. They thin the nail.
Step-by-Step: How to Remove Semi-Permanent Nails Correctly
Step 1: Clean and prep. Wash your hands with soap and water. Dry them thoroughly. Remove any lotion or oil from the nails. Apply a thin layer of petroleum jelly around each nail to protect the skin from acetone.
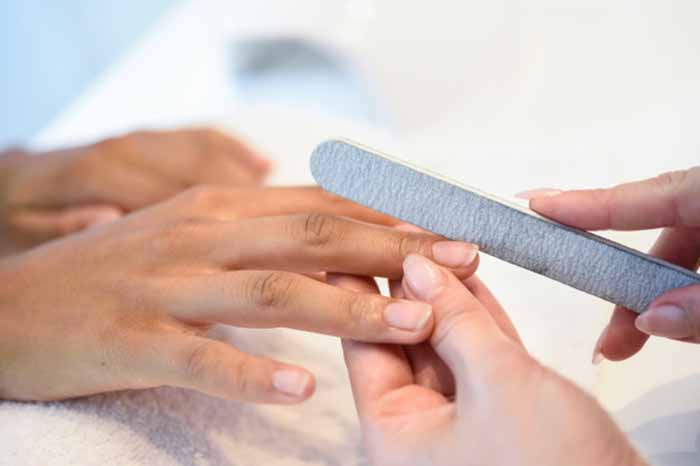
Step 2: File the top coat. Use a fine-grit file to gently buff the shiny surface of each nail. You are not trying to remove all the colour. You only need to break the seal so the acetone can penetrate. Brush away the dust.
Step 3: Soak the cotton. Saturate a cotton ball or pad with 100% pure acetone. It should be wet but not dripping.
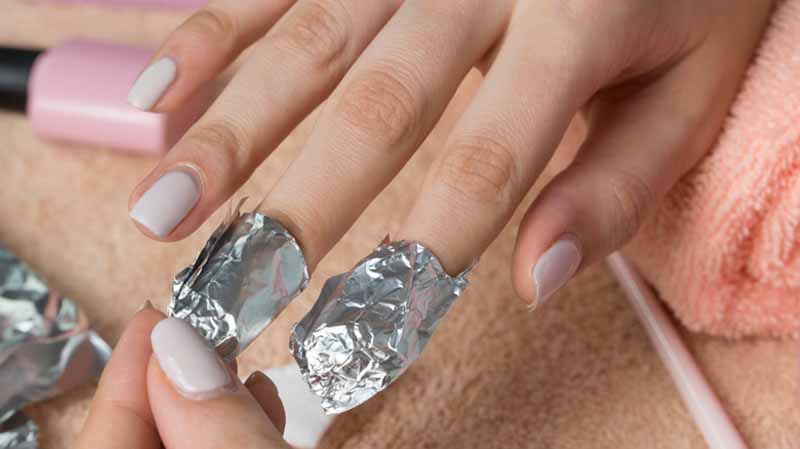
Step 4: Wrap the nail. Place the cotton on the nail. Wrap the fingertip tightly with aluminium foil. The foil holds the cotton in place and traps heat, which helps the acetone work faster. Repeat for all nails.
Step 5: Wait. Leave the wraps on for 10 to 15 minutes. Do not peek. Unwrapping early releases the acetone vapour and slows the process.
Step 6: Check one nail. Unwrap one finger. The gel should look soft and cracked. Use a wooden pusher to gently push the softened gel from the cuticle toward the free edge. It should slide off easily.
Step 7: Re-wrap if needed. If the gel resists, rewrap and wait another 5 minutes. Do not scrape or force it.
Step 8: Remove residue. Once the gel is off, lightly buff any remaining residue with a fine-grit nail buffer. Do not over-buff.
Step 9: Wash and hydrate. Wash your hands with soap and water. Apply cuticle oil generously. Follow with a rich hand cream.
Common Mistakes to Avoid
Peeling or picking. This is the worst mistake. Peeling strips layers off the natural nail. It can take months to recover. Always soak off.
Skipping the top coat filing. Acetone cannot penetrate an intact top coat. If you do not file the surface, the soak will take much longer, and you will be tempted to scrape.
Using non-acetone remover. It will not dissolve gel polish. You need pure acetone.
Scraping with metal tools. Metal pushers can gouge the nail plate. Use wood or silicone.
Rushing the soak. If you do not wait long enough, you will force the gel off. Patience prevents damage.
Soaking for too long. More than 20 minutes can over-dry the skin and weaken the nail. If the gel is not soft after 15 minutes, rewrap and wait, but do not soak for hours.
Forgetting to protect the skin. Acetone is drying. Petroleum jelly around the nails prevents irritation.
Applying force. If the gel does not slide off, it is not ready. Force causes trauma.
Skipping aftercare. Acetone strips moisture. Cuticle oil and hand cream are essential.
Applying new polish immediately. Give your nails at least 24 to 48 hours of bare, oiled rest before applying a new set.
Final Thoughts
Removing semi-permanent nails safely is about preparation, patience, and the right technique. File the top coat, soak with pure acetone, wait long enough, and push gently. Never peel, scrape, or force. Protect your skin and hydrate after removal. Avoid the common mistakes, and your natural nails will stay healthy and strong.
Read also: The Art and Science of Nail Filing: Why It’s Essential and How to Do It Right